


Testing a LED neon sign before installation is a crucial step to ensure its proper functionality, longevity, and overall performance. As a trusted LED neon sign supplier, I understand the significance of this pre - installation testing process. In this blog, I will guide you through the essential steps to test a LED neon sign before it's installed.
1. Visual Inspection
Before powering on the LED neon sign, conduct a thorough visual inspection. Check for any visible damage to the LED strips, wires, connectors, or the sign's frame. Look for bent or broken LED chips, frayed wires, or loose connections. Any physical damage can lead to malfunction or safety hazards later on.
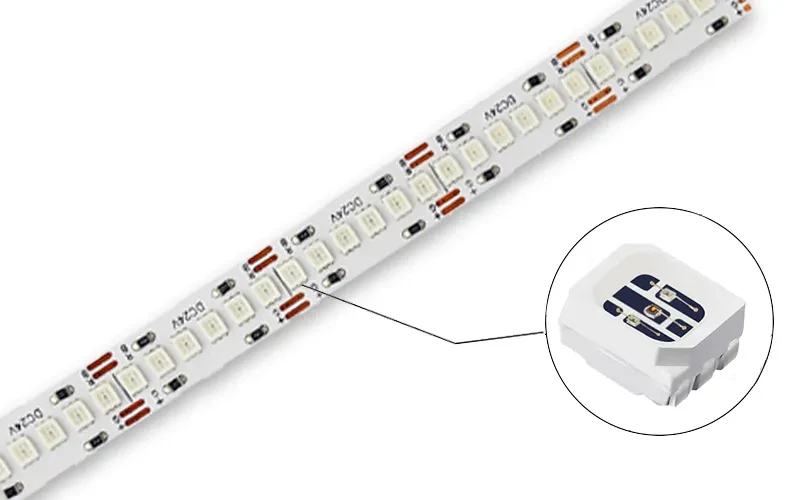
Our company offers a wide range of high - quality LED strips, such as the SMD2835 240LED/M RGB LED Strip. These strips are known for their durability, but a visual inspection is still necessary to catch any potential issues during shipping or handling.
2. Check the Power Supply
The power supply is the heart of the LED neon sign. Ensure that the power supply unit (PSU) is compatible with the LED strips used in the sign. Check the voltage and current ratings of the PSU and compare them with the requirements of the LED strips.
A mismatched power supply can cause the LED sign to flicker, dim, or even damage the LED chips. For example, our COB 504LEDs 10M Long Run IP20 LED Strip Lights have specific power requirements, and using an incorrect PSU can lead to sub - optimal performance.
3. Test the LED Strips
To test the LED strips, connect them to the power supply in a safe and controlled environment. Use a suitable connector to ensure a secure connection. If the LED strips are RGB (Red, Green, Blue), use a controller to test each color separately.
Turn on the power and check if all the LEDs light up evenly. Look for any dark spots, flickering, or inconsistent brightness. If you notice any issues, it could be due to a faulty LED chip, a loose connection, or a problem with the power supply. Our SMD2835 60LEDs IP20 LED Strip Lights are designed for uniform illumination, and any deviation from this could indicate a problem.
4. Check the Controller (if applicable)
If your LED neon sign comes with a controller for color changes, brightness adjustment, or other effects, test it thoroughly. Make sure all the functions of the controller work as expected.
Try different color modes, such as solid colors, color fades, and strobe effects. Check if the brightness can be adjusted smoothly. A malfunctioning controller can limit the functionality of the LED sign and affect the user experience.
5. Measure the Temperature
During the testing process, monitor the temperature of the LED strips and the power supply. Excessive heat can reduce the lifespan of the LEDs and cause other issues. Use an infrared thermometer to measure the surface temperature of the LED strips.
If the temperature is too high, it could be due to overloading, poor ventilation, or a faulty component. Ensure that the installation location allows for proper heat dissipation to prevent overheating.

6. Check for Electrical Safety
Safety is of utmost importance when dealing with electrical devices. Check for any exposed wires, short circuits, or electrical leaks. Use a multimeter to measure the electrical resistance and ensure that there are no abnormal readings.
Make sure all the electrical connections are properly insulated and secured. A small electrical fault can pose a significant risk, so it's essential to address any safety concerns before installation.
7. Test in Different Environments
If possible, test the LED neon sign in different lighting conditions and environments. This will help you evaluate how the sign looks and performs under various circumstances.
For example, test the sign in a dimly lit room and in direct sunlight. Observe how the colors appear and if the brightness is sufficient. This will give you a better understanding of how the sign will look once it's installed in its final location.
8. Document the Test Results
Keep a record of the test results, including any issues found and the steps taken to resolve them. This documentation will be useful for future reference and can help with troubleshooting if any problems arise after installation.
It can also serve as a quality control measure and provide evidence of the sign's functionality before it was installed.
Conclusion
Testing a LED neon sign before installation is a comprehensive process that involves visual inspection, power supply checks, LED strip testing, controller testing, temperature monitoring, electrical safety checks, and testing in different environments.
By following these steps, you can ensure that your LED neon sign will work properly, last longer, and provide the desired visual effects. As a LED neon sign supplier, we are committed to providing high - quality products and helping our customers with the testing process.
If you are interested in purchasing LED neon signs or need further assistance with testing and installation, please feel free to contact us. We are here to answer your questions and provide you with the best solutions for your signage needs.
References
- "LED Lighting Handbook" by John Doe
- "Electrical Safety Guidelines for LED Signage" by Jane Smith
- Industry standards and best practices for LED neon sign manufacturing and testing


